Invest in a paint roller if you’re looking for quick ways to paint a fence. Unlike brushes, rollers can cover large areas in less time. Follow these steps for the best results:
Use a medium pile standard roller to paint larger areas. These rollers have excellent paint pick-up and provide even coverage.
Work your way from top to bottom, using horizontal strokes for horizontal planks of wood and vertical strokes for vertical planks. Following the direction of the timber ensures a smoother finish and speedier application.
Once your first coat is dry, apply a second coat, repeating the steps above. This will give your paint colour depth, provide a long-lasting finish and increase wood protection.
When you’ve finished painting, clean your paint roller in warm, soapy water or white spirit to remove excess paint.
What are the best brushes for painting a fence?
When it comes to fence painting, there is no right or wrong brush. We recommend choosing an exterior paintbrush with durable bristles for longevity and a comfortable handle grip to make painting more enjoyable. With various sizes available, you can find large brushes to cover a greater surface area or small brushes for detail work and hard-to-reach spots.
How many coats do you need to paint a fence?
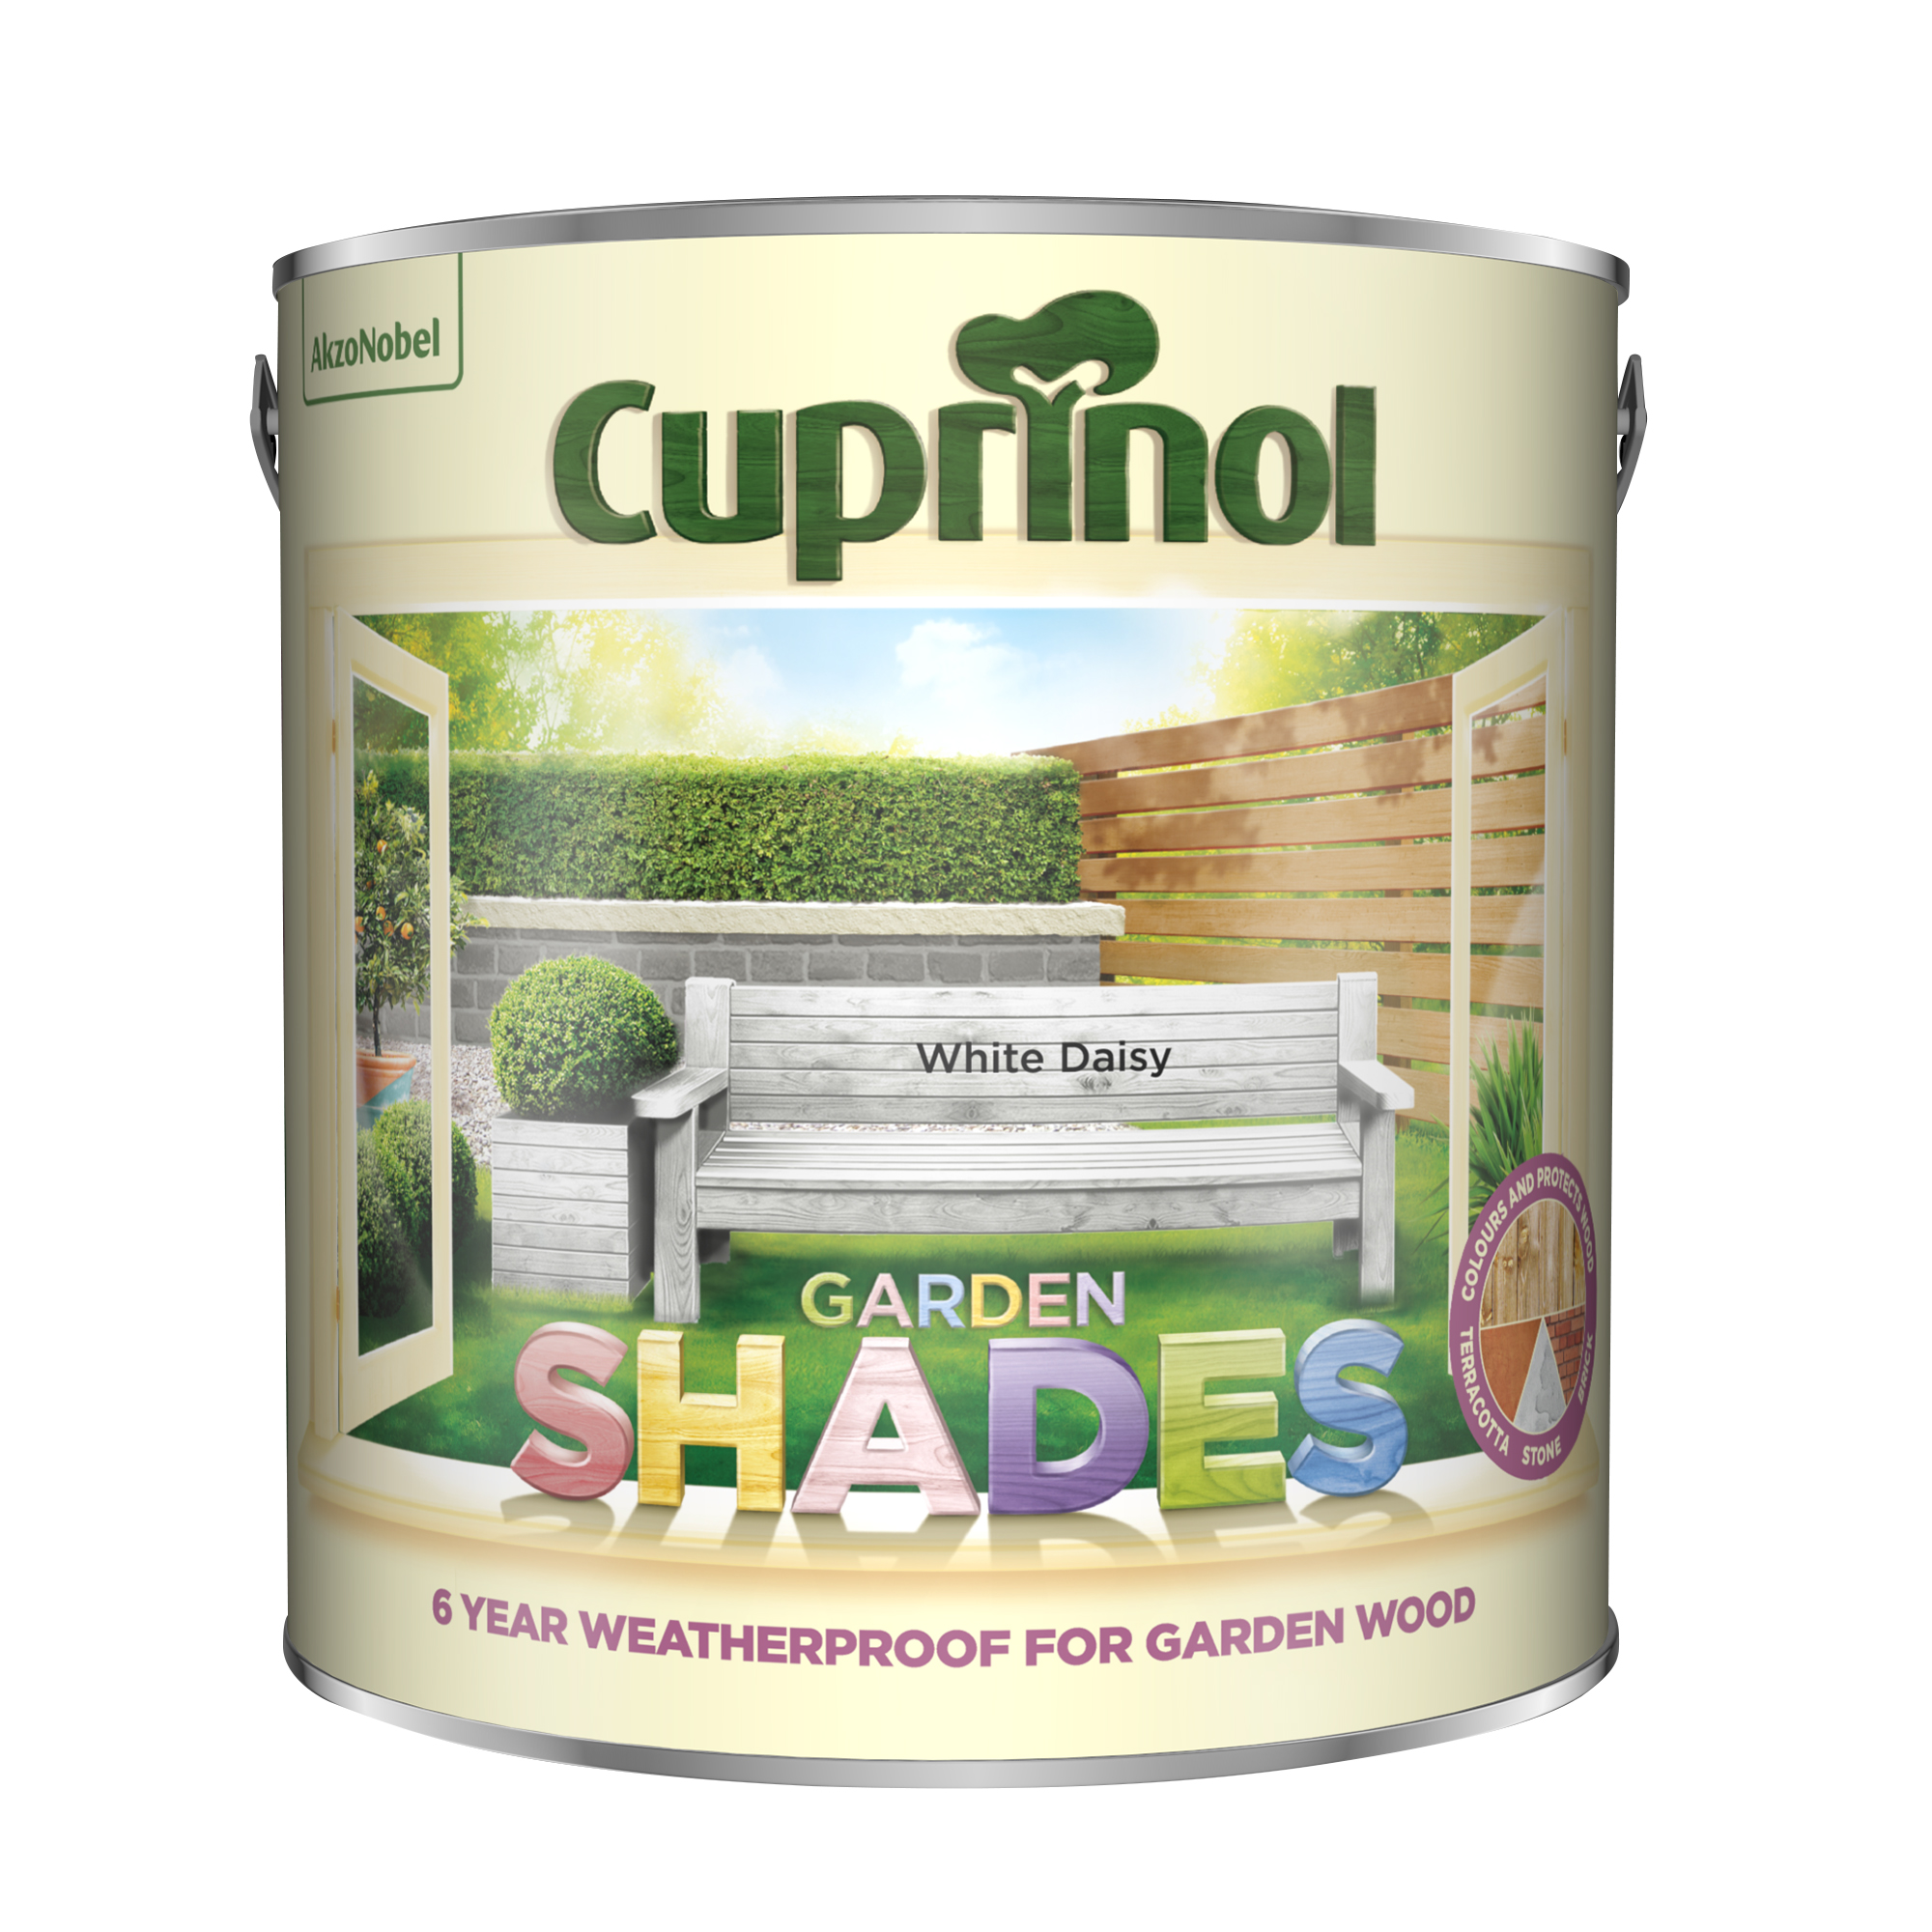
When using quality paints like Cuprinol Garden Shades, two coats should be sufficient. Depending on the shade you choose and the natural wood colour, you may need to apply up to three coats of paint to get a streak-free, opaque finish.
Can I paint both sides of my fence?
If both sides of the fence are on your property, you can paint them. However, if one side is in your neighbour’s garden, you can only paint your side of the fence.


